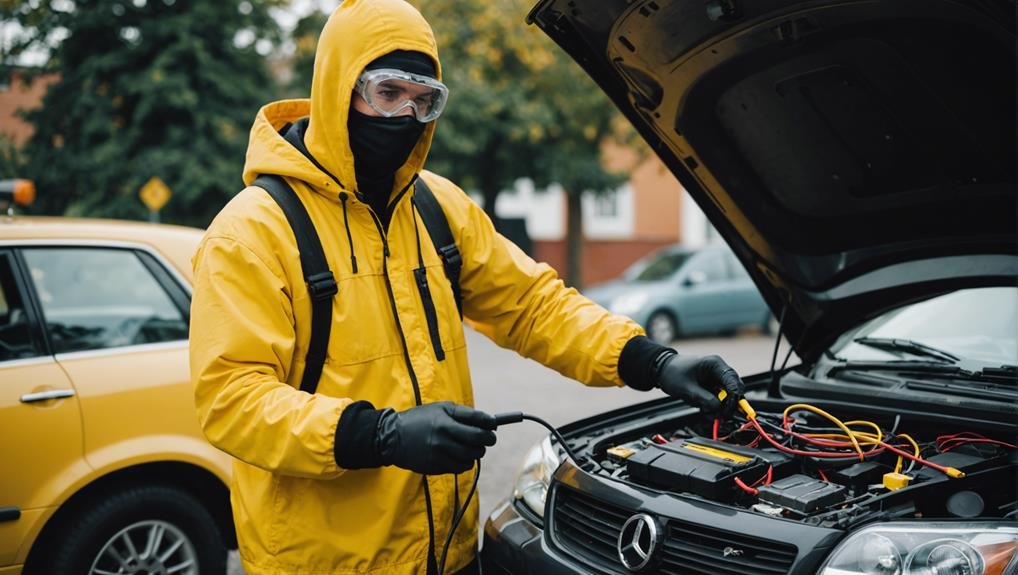
When using black and yellow jumper cables safely, you'll need to follow a specific sequence to avoid hazards and guarantee a successful jump-start. Initially, identify the positive and negative terminals on both batteries, typically marked with + and – symbols or colored red and black. Connect the black cable to the negative terminal of the dead battery, then the yellow cable to the positive terminal. Next, attach the black cable to the negative terminal of the good battery, and lastly, the yellow cable to the positive terminal. By following this order, you'll minimize risks and get back on the road; understanding these connections is just the starting point.
Key Takeaways
- Ensure jumper cables are in good condition and correctly aligned to prevent hazards before jump-starting.
- Identify positive and negative battery terminals, typically marked with "+" and "-" symbols, before connecting cables.
- Connect black (negative) cable to negative terminal of dead battery and yellow (positive) cable to positive terminal of dead battery.
- Attach cables securely to terminals, following the correct sequence to prevent sparks, overheating, and damage.
- Double-check all connections before jump-starting to ensure safe and successful jump-starting.
Preparing for a Jump-Start
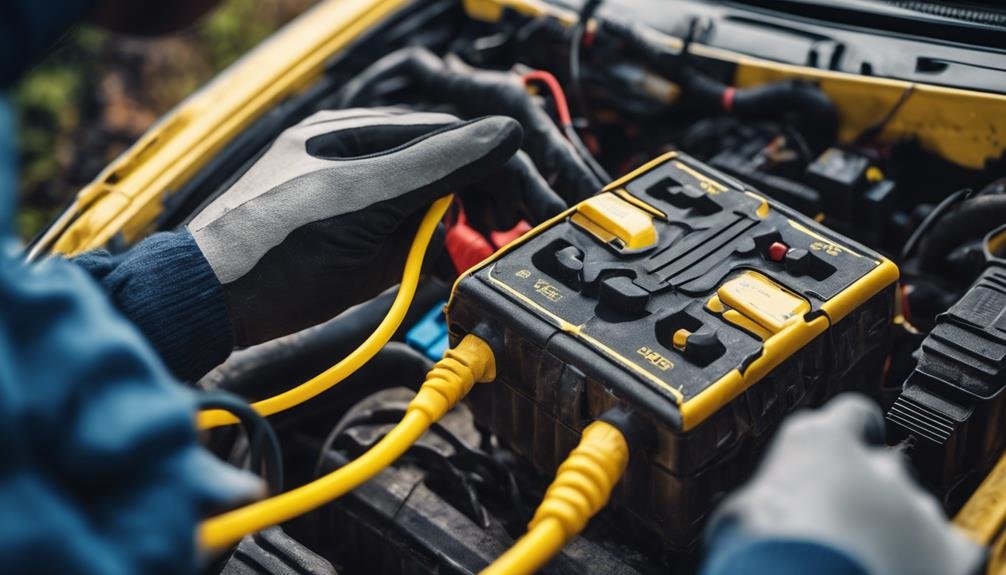
Before you attempt to jump-start a car, make sure you have a set of black and yellow jumper cables in good condition, with no signs of damage or wear that could compromise their performance. It's important to have these cables in top shape to guarantee a safe and successful jump-start.
Remember, jumper cables come in black and yellow colors, which serve as visual identifiers for the positive and negative terminals. The black cables typically represent the negative (-) terminal, while the yellow cables indicate the positive (+) terminal.
When preparing for a jump-start, it's vital to confirm the correct alignment of the black and yellow cables to prevent sparks and potential hazards. Properly connecting the cables will help safely recharge a dead car battery and get the vehicle running again.
Take your time to double-check the cables before attempting a jump-start, and make sure you understand the correct connection order to avoid any mishaps. By following these simple steps, you'll be well-prepared to jump-start a car and get back on the road in no time.
Identifying Battery Terminals
You'll need to identify the battery terminals correctly to guarantee a safe and successful jump-start, so take a close look at the terminals on both batteries to locate the positive (+) and negative (-) symbols. These symbols are typically marked on the terminals, making it easier to identify them.
Generally, the positive terminal is located on the left side of the battery, while the negative terminal is on the right side. Some jumper cables may also have color-coded clamps, with yellow indicating the positive terminal and black indicating the negative terminal.
Correctly identifying the terminals is vital to avoid incorrect connections, which can result in sparks, heat, and potential damage. Make sure to examine both batteries carefully, as the terminal configurations may differ.
Connecting Jumper Cables Safely
Safety demands attention to detail when connecting jumper cables, and it's essential to follow the correct sequence to avoid sparks, electrical shocks, or even a blown engine.
You're now ready to connect the jumper cables, but remember, the sequence is important. Start by connecting the black jumper cable to the negative terminal on the dead battery, and the other end to a metal ground on the assisting vehicle. Make sure the cable isn't twisted or tangled during connection to prevent accidents or damage.
Next, connect the yellow jumper cable to the positive terminal on the dead battery, and the other end to the positive terminal on the assisting vehicle. Be mindful of the cable colors and terminals to prevent incorrect connections that could lead to damage or safety hazards.
Always follow the correct sequence: black (negative) first, then yellow (positive) to avoid sparks or electrical issues. By following these steps, you'll guarantee a safe and successful jump-start.
Attaching to Dead Battery Terminals
When attaching the jumper cables to the dead battery terminals, securely connect the black cable to the negative terminal, making sure it's secure and won't come loose during the jump start. This connection is essential, as it prevents electrical damage and guarantees a safe jump start.
Make sure the black jumper cable is properly grounded to the vehicle's metal frame, allowing for efficient power transfer.
Next, connect the yellow jumper cable to the positive terminal of the dead battery. This connection is important, as it completes the circuit and enables the jump start. Double-check that both cables are securely attached to their respective terminals, ensuring a secure fit that won't come loose during the jump.
Proper attachment of the black and yellow cables prevents sparks and overheating, making the jump start process safer and more efficient. By following these steps, you'll be able to jump-start your vehicle safely and effectively.
Connecting to Good Battery Terminals
Hook up the black jumper cable to the negative terminal of the good battery, guaranteeing a secure connection that won't come loose during the jump start. This is a critical step in the process, as improper connections can lead to electrical system damage or even physical harm.
To guarantee a safe and successful jump-start, follow these guidelines:
| Cable Color | Terminal Connection |
|---|---|
| Black | Negative (-) Terminal |
| Yellow | Positive (+) Terminal |
| Black | Negative (-) Terminal of Good Battery |
| Yellow | Positive (+) Terminal of Good Battery |
| Black | Negative (-) Terminal of Dead Battery |
Finalizing the Jump-Start Connection
Now that you've securely connected the cables to the good battery and the dead battery, it's time to finalize the jump-start connection by grounding the negative cable clamp to the metal frame of the vehicle with the dead battery. Make sure both vehicles are turned off to prevent any accidental starts or electrical shocks.
Next, securely attach the negative cable clamp to the metal ground on the vehicle with the dead battery, ensuring it's firmly attached to the metal frame. Confirm a solid connection by making sure the negative cable clamp is firmly attached to the metal frame.
Once the negative cable is grounded, you're ready to start the vehicle with the charged battery to complete the jump-start process. Remember to disconnect the jumper cables in reverse order to safely finalize the jump-start connection.
With your set of jumper cables properly connected, you've successfully finalized the jump-start connection, and you're one step closer to getting the dead battery vehicle back on the road.
Starting the Dead Battery Vehicle
You're ultimately ready to start the dead battery vehicle, so make sure to turn the key to start the engine and let it run for a few minutes to recharge the battery.
Now that you've properly connected the jumper cables, it's time to start the car. Confirm the vehicle with the dead battery is in neutral or park gear, and engage the parking brake. Turn the key to start the engine, and let it run for a few minutes to recharge the battery. This will help the dead battery regain some charge, making it easier to start the car.
Remember to keep the engine running at a moderate speed to recharge the battery efficiently.
As the dead battery vehicle starts, you'll notice the electrical systems coming back online, and the engine will start to roar back to life. Keep in mind that the positive ground connection you made earlier will help facilitate the flow of energy from the donor vehicle to the dead battery, allowing you to start the car successfully.
Post-Jump-Start Safety Precautions
After successfully jump-starting the dead battery vehicle, it's vital to take certain precautions to guarantee your safety and the longevity of your vehicle's electrical systems.
You've got a good Samaritan to thank for the assist, but now it's important to make sure the car won't start experiencing electrical issues.
Drive your car for at least 15 minutes to fully recharge the battery; this will help prevent it from dying again. Keep those jumper cables handy in the trunk, just in case you need to return the favor someday.
Remember, the good Samaritan's vehicle should have a battery with equal or higher voltage to avoid damaging your car's electrical systems.
Frequently Asked Questions
What Is Positive and Negative on Black and Yellow Jumper Cables?
You need to know that on black and yellow jumper cables, the yellow cable is positive, and the black cable is negative – it's essential to identify them correctly to prevent damage when jump-starting a car.
Is It Safe to Use Two Jumper Cables?
You're wondering if it's safe to use two jumper cables. Yes, it can be, as long as you connect them correctly to the corresponding positive and negative terminals, following the proper sequence to avoid risks.
What Happens if You Put Both Jumper Cables on the Positive?
If you put both jumper cables on the positive terminal, you'll generate sparks, heat, and risk a battery explosion, causing damage to the electrical system and potentially harming you, so it's important to avoid this mistake.
Does It Matter What Color Jumper Cable You Use?
When jump-starting, you might wonder if the color of the jumper cables really matters – the short answer is yes, it does, as incorrect connections can cause serious damage, so it's important to use the right colors.
Conclusion
You've successfully completed the jump-start process, ensuring a safe and efficient transfer of power from the good battery to the dead one.
Double-check all connections, making sure they're secure and not touching any moving parts.
Once the dead vehicle is running, remove the jumper cables in the reverse order they were attached, starting with the negative cable.
With the dead battery now charging, drive the vehicle for an extended period to recharge it fully.