To fix a tire leak, start by identifying the source of the leak by inflating the tire to recommended pressure and immersing it in a soapy water solution. Inspect for visible punctures or damage, checking the valve stem and wheel mounting surface. Once you've pinpointed the leak, remove any obstructions, clean the area, and prepare the tire for repair. Then, use a plug kit to plug the hole, ensuring a secure seal. After securing the plug, trim excess material, and reinflate the tire to the recommended pressure. From here, you can proceed to inspect for additional leaks and conduct a final check before hitting the road.
Key Takeaways
- Inflate the tire to the recommended pressure to help identify the source of the leak.
- Remove the object causing the leak using pliers and clean the area around the puncture.
- Prepare the tire for repair by cleaning the puncture area with a rasp tool and ensuring a well-prepared surface.
- Plug the hole using a plug kit, inserting the plug properly and trimming excess material for a secure seal.
- Secure the plug firmly using an insertion tool, applying liquid adhesive for a strong seal.
Identifying the Source of the Leak
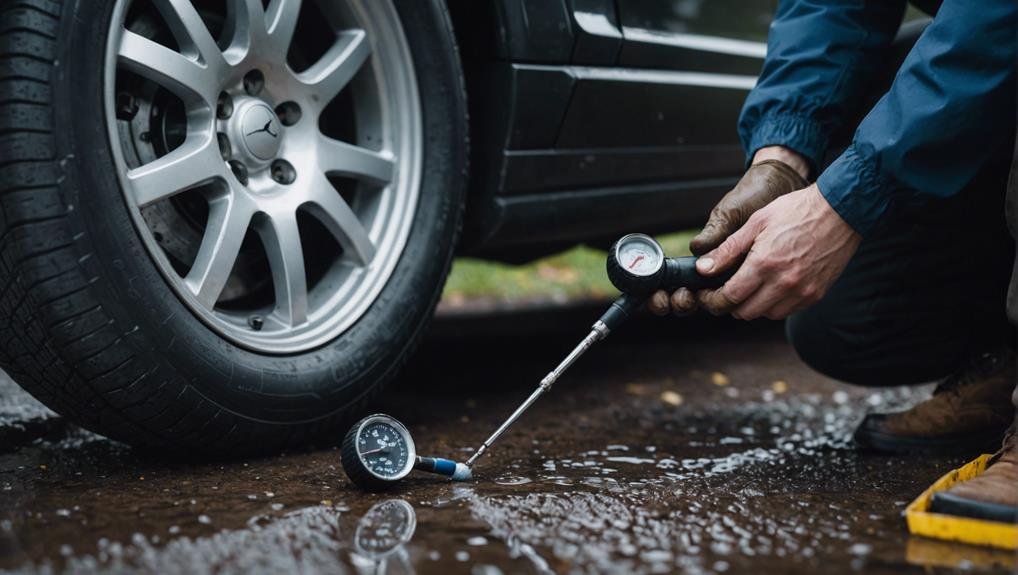
To track down the source of the leak, start by inflating the tire to the recommended pressure and then immersing it in a soapy water solution. This method helps bubbles form at the exact spot where the air is escaping, allowing you to pinpoint the source of the leak, whether it's a slow tire leak or a more significant issue.
Next, inspect the tire carefully for any visible punctures, nails, or objects that may be causing the leak. Check the valve stem and wheel mounting surface for damage, as these areas are common sources of slow tire leaks.
Moreover, look for signs of wear or damage on the tire bead seal and valve stem, as they can also lead to leaks over time.
Removing the Obstruction
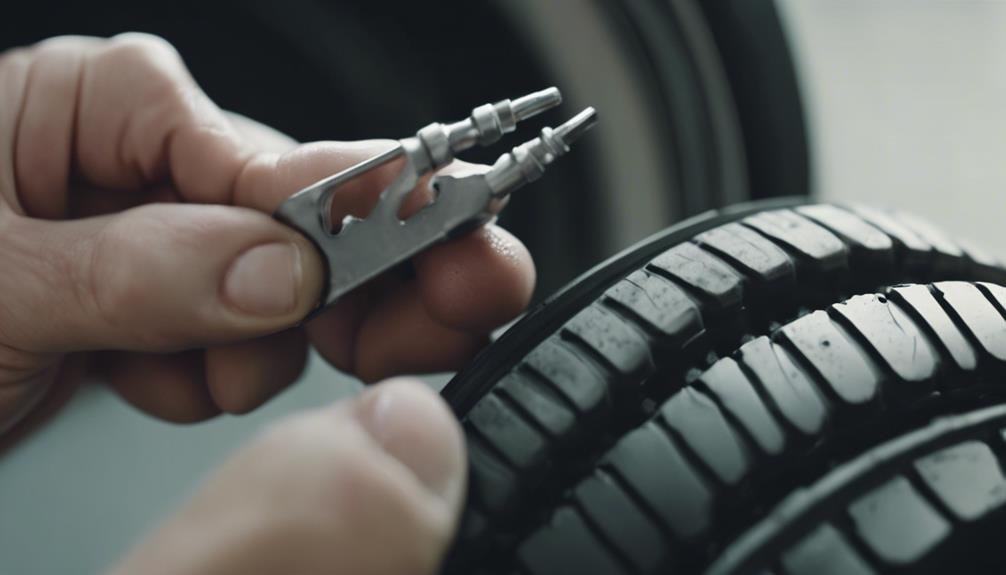
Now that you've identified the source of the leak, it's time to carefully remove the object causing the leak from the tire using pliers. Be cautious not to damage the tire during this process.
Gently grasp the obstruction with the pliers, and slowly pull it out of the tire. Once removed, inspect the tire for any remaining debris that could lead to further leaks. Take your time to make sure the area around the puncture is clean and free of debris.
Failing to eliminate the obstruction promptly can lead to further damage to the tire, making it more challenging to repair. After removing the obstruction, examine the tire again to make sure there are no remaining objects that could cause another leak.
Cleaning the area around the puncture is essential to prevent any debris from interfering with the repair process. By removing the obstruction and cleaning the area, you'll be able to proceed with the repair process, ensuring a safe and reliable fix for your tire leak.
Preparing the Tire for Repair
With the obstruction removed and the area cleaned, you're ready to prepare the tire for repair by cleaning the puncture area with a rasp tool. This vital step helps guarantee a successful repair, as any debris or residue can cause the tire plug to fail, leading to a slow leak or even a complete blowout.
To diagnose the issue, you may want to use the water method to identify the source of the leak. Remember to check the valve stems for any signs of damage, as this can also contribute to pressure monitoring issues.
When preparing the tire, take your time to carefully clean the area, as a thorough job will make the repair process smoother. A well-prepared surface is crucial for a successful tire plug repair.
Plugging the Hole
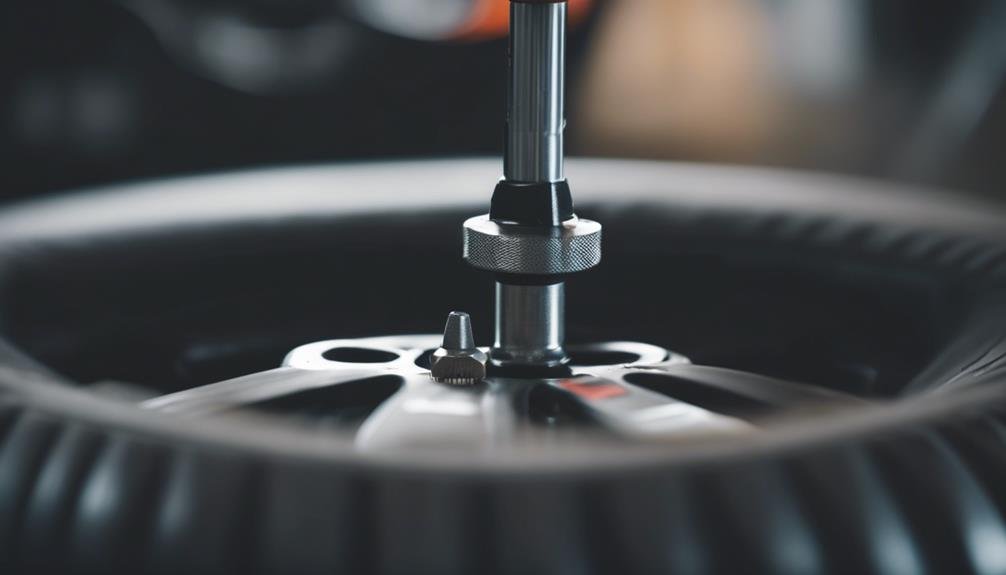
You'll need a plug kit with the necessary tools, including a reaming tool and plugs, to fix the tire leak. This kit will help you temporarily fix a slow leak, but keep in mind that it may impact your tire's warranty. Using the reaming tool, remove any objects that may be causing the leak, and then ream the hole to prepare it for the plug. Next, insert a plug into the hole, making sure it's seated properly.
| Step | Action | Tool Needed |
|---|---|---|
| 1 | Remove object causing leak | Reaming tool |
| 2 | Ream the hole | Reaming tool |
| 3 | Insert plug | Plug kit |
Once the plug is in place, trim any excess material to guarantee a secure seal. Lastly, reinflate the tire to the recommended pressure. Remember, while a plug kit can provide a temporary fix, it's crucial to perform regular maintenance and checks to make sure the tire remains safe and functional.
Securing the Plug
After inserting the plug, focus on securing it firmly in place to prevent air leakage. To do this, use the insertion tool provided in the plug kit to apply proper pressure when securing the plug. Make sure the plug is trimmed to the correct length for a snug fit in the tire puncture. Before insertion, apply liquid adhesive on the plug for a strong seal against air leaks.
Proper positioning of the plug is vital, so double-check that it's securely seated in the tire. To guarantee a tight seal, use the insertion tool to apply even pressure around the plug.
Next, conduct a soap and water test to check for any remaining leaks. Mix dish soap with water in a spray bottle, then spray the solution onto the plug area. If bubbles form, it indicates air is still escaping, and you may need to reposition the plug or add additional plugs.
Inspecting for Additional Leaks
Now that the initial leak is plugged, inspect the entire tire surface, valve stem, and wheel for any extra leaks using the soapy water method. You don't want to overlook any additional leaks that could compromise your tire's integrity.
Make sure to check your tire pressure before proceeding, as this will help you identify any potential leaks more easily.
Next, apply the soapy water solution to the tire surface, valve stem, and wheel, and look for any signs of bubbling or air escaping. If you notice any bubbling, it's likely an indication of an additional leak.
Address any leaks you find promptly to maintain tire integrity and prevent further damage. It's important to ensure all areas of the tire are thoroughly checked to prevent overlooked leaks.
Final Check and Inflation
Conducting a final soap solution test guarantees the repaired tire is completely leak-free before proceeding with inflation. This step ensures that the tire is properly sealed, eliminating any chance of air leakage.
Once you've confirmed the tire is leak-free, it's time to inflate it to the manufacturer's recommended psi. You can do this using an air compressor, and then confirm the pressure with a tire pressure gauge to make sure it meets the recommended levels. Proper inflation is essential to prevent low tire pressure, which can lead to uneven tire wear and reduced fuel efficiency.
After inflation, reattach the tire and tighten the lug nuts securely using a lug wrench. Double-check that the lug nuts are tightened in a star pattern to ensure even pressure.
With the tire properly inflated and secured, you can be confident that the repair is complete and the tire is safe to use.
Frequently Asked Questions
How to Stop a Leaking Tire?
You can stop a leaking tire by temporarily plugging the hole with a tire repair kit or using a cured rubber stem and repair unit for a more permanent fix.
How to Fix a Tire Plug That's Leaking?
You're dealing with a leaking tire plug, so you'll want to reinsert the plug, ensuring it's secure and trimmed to the right length, and then recheck the tire pressure to confirm the fix worked.
How to Find Where a Tire Is Leaking?
You're trying to figure out where your tire is leaking, right? Start by spraying soapy water on the tire to spot bubbles, listen for hissing sounds, or submerge it in water to identify the leak's location.
Can You Seal a Leaking Tire?
You can indeed seal a leaking tire using a tire plug kit, which includes tools like a reaming tool and plugs to seal the leak, and it's a cost-effective solution.
Conclusion
You've successfully fixed your tire leak! Remember to always double-check your work, making sure the plug is secure and no extra leaks exist.
Properly inflate the tire to the recommended pressure, and you're ready to hit the road again. Be sure to monitor the tire's air pressure over the next few days to confirm the repair holds.
With these steps, you've saved yourself a trip to the mechanic and gained valuable DIY skills.