When fixing oil leaks from the oil filter, you'll need to identify the leak source, inspect the oil filter, and possibly replace the oil filter gasket. Check the filter gasket and housing for wear or damage, and make sure the filter is properly tightened – not too loose or too tight. A well-lubricated gasket is vital for a snug fit. If you're still experiencing leaks, double-check the filter model number, seal condition, and rubber mounting gasket. By following these steps, you'll be well on your way to stopping those pesky oil leaks; to get to the bottom of the issue, you'll want to take a closer look at each of these important steps.
Key Takeaways
- Inspect the oil filter gasket and housing for wear or damage, and ensure a snug fit with a new gasket if necessary.
- Verify the correct oil filter model number and seal condition, and lubricate the filter seal to prevent binding.
- Replace the oil filter gasket with a new one, ensuring proper installation and lubrication to prevent leaks.
- Tighten the oil filter correctly, avoiding over-tightening or under-tightening, and following the manufacturer's guidelines.
- Conduct a post-repair leak check, monitoring the area around the oil filter for residual leaks and verifying the repair by starting the engine.
Identifying the Leak Source
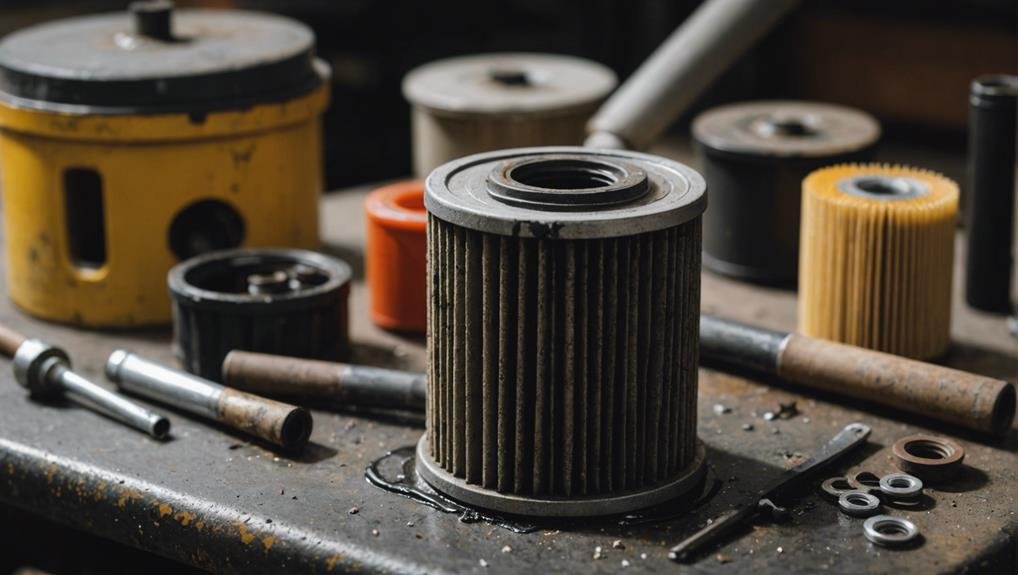
As you investigate the oil leak, start by inspecting the oil filter gasket and housing for signs of wear or damage, as these are common sources of leaks. Check for any cracks, corrosion, or worn-out surfaces that could be allowing oil to seep through. It's crucial to examine the gasket and housing carefully, as they can be prone to damage over time, especially if you've had an old filter installed for an extended period.
If you've recently replaced the filter with a new one, double-check the installation to make sure it's secure and properly tightened.
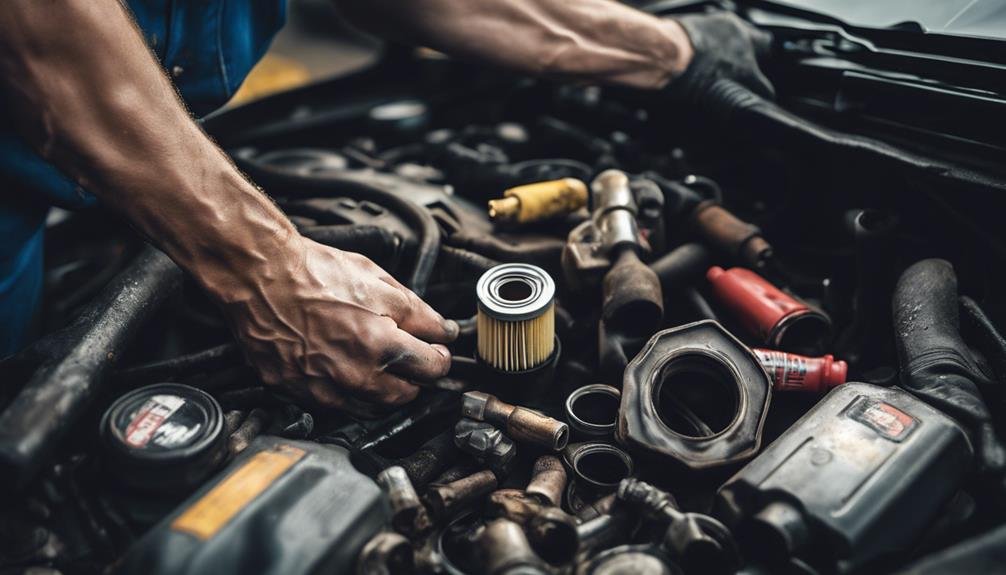
Next, take a closer look at the oil filter mounting area for signs of oil seepage or droplets. You might need to get underneath the vehicle to inspect the area thoroughly. Be sure to check for oil puddles or stains on the ground where the oil filter is located.
Moreover, inspect the oil pressure sensor or switch for any signs of leaking oil. By methodically inspecting these areas, you'll be able to identify the source of the leak and take the necessary steps to fix it.
Inspecting the Oil Filter
You'll want to inspect the oil filter for signs of double gasket or old seals stuck on the block, which can cause leaks. This is important because an old filter gasket sticks to the engine block, creating an oil filter leak. Make sure to check for any damage or warping on the new filter that could cause leaks during oil changes.
Remove the oil filter to inspect the seal and surfaces for any issues. Verify the compatibility of the filter model number and condition of the seal before installation to prevent a leak at the top. Confirm the oil filter seal is properly lubricated to prevent binding or unseating. A rubber mounting gasket should be in good condition to prevent leaks.
During inspection, look for signs of a double gasket, which can occur when the old filter gasket doesn't come off with the filter, leaving a residue that can cause leaks. By following these steps, you'll be able to identify and address potential issues before they lead to an oil filter leak.
Replacing the Oil Filter Gasket
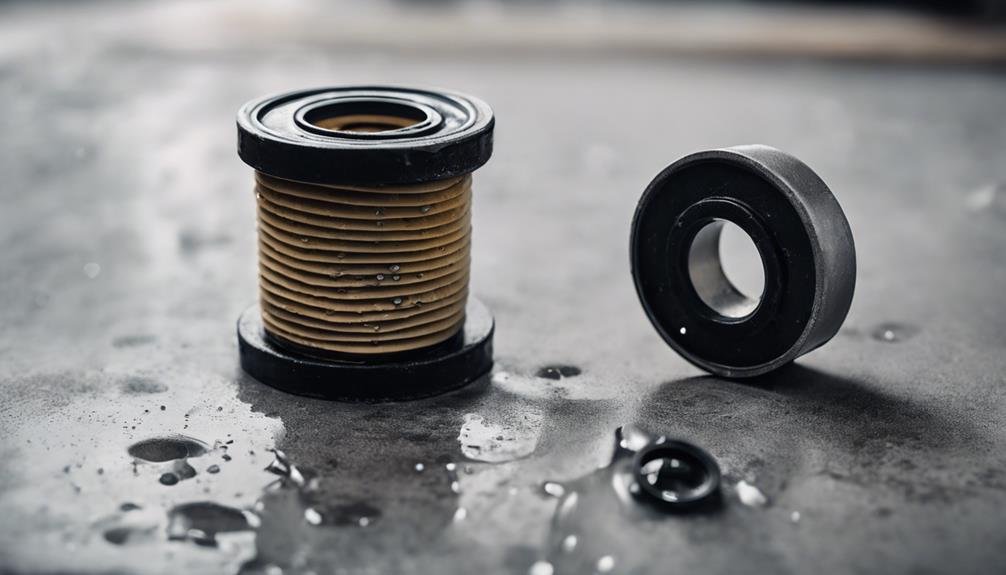
Replace the old oil filter gasket with a new one, guaranteeing a snug fit and proper seal to prevent leaks. When doing so, make sure to remove the old gasket to avoid double sealing and leaks.
Properly lubricate the new oil filter gasket to prevent it from binding or unseating during installation. This will secure a correct seal and prevent leaks.
Here are some key considerations to keep in mind when replacing the oil filter gasket:
- Inspect the oil filter gasket for any signs of damage or wear before fitting it onto the filter.
- Make sure the oil filter gasket is properly seated and positioned on the filter to ensure a proper seal.
- Ensure the gasket is adequately lubricated to prevent binding and ensure a smooth installation.
- Check that the gasket isn't damaged or worn out, as this can compromise the seal.
- Verify that the gasket is correctly installed to prevent leaks and ensure proper operation.
Tightening the Oil Filter Correctly
After confirming the oil filter gasket is properly seated and lubricated, you can move on to tightening the oil filter correctly, a step that's just as crucial in preventing leaks and ensuring proper engine lubrication. Proper tightening is vital, as over-tightening can lead to damage to the gasket, causing leaks, while under-tightening can result in the filter vibrating out of place. To avoid these issues, follow the manufacturer's guidelines for tightening the oil filter.
| Tightening Method | Effect on Oil Filter |
|---|---|
| Over-tightening | Damages gasket, causes leaks |
| Under-tightening | Filter vibrates out of place, causes leaks |
| Hand-tightening (1/4 to 1/2 turn) | Secure seal, prevents leaks |
| Following manufacturer's guidelines | Ensures proper engine lubrication |
Post-Repair Leak Check Procedures
Once you've tightened the oil filter correctly, it's important to confirm that the repair was successful by performing a series of post-repair leak check procedures. This step is crucial to verify that the oil leaks have been fully addressed and that the engine is running smoothly.
Here are the key steps to follow:
- Monitor the area around the oil filter for any signs of residual leaks, such as oil drips or puddles.
- Conduct a visual inspection of the oil filter and surrounding components to ensure there are no signs of new leaks.
- Start the engine and let it run for a few minutes to pressurize the system and verify that the repair was effective.
- Use a clean rag to wipe down the area around the oil filter to detect any fresh oil leaks that may have occurred post-repair.
- If any leaks are still present after the repair, consider seeking professional help to address the issue effectively.
Frequently Asked Questions
How to Fix Oil Leak From Oil Filter?
You're wondering how to fix an oil leak from the oil filter? Start by inspecting the filter for damage, check for double gaskets, and confirm a proper seal; then, replace it if needed, and verify the filter model number for a secure fit.
Why Is My Oil Leaking After Changing the Filter?
You're wondering why oil is leaking after changing the filter, right? It's likely because you used the wrong filter size, over-tightened it, or didn't lubricate it properly, causing the seal to fail, leading to leaks.
How Much Does It Cost to Fix a Leaking Oil Filter?
You're wondering how much it'll cost to fix that leaky oil filter. On average, a DIY repair will set you back around $400, while a pro mechanic might charge up to $2,000, depending on the damage and your vehicle's model.
How Do I Know if My Oil Filter Gasket Is Leaking?
You'll know your oil filter gasket is leaking if you notice oil seepage around the housing, visible drips or puddles beneath, or sudden oil level drops; inspect the gasket for tears, cracks, or misalignment too.
Conclusion
Now that you've addressed the oil leak from the oil filter, double-check your work by starting the engine, letting it idle, and inspecting the filter for signs of leaks.
Look for drips, drops, or stains under the filter, and check the ground beneath the vehicle. If you've done everything correctly, you should see no signs of leakage.
Take a moment to pat yourself on the back – you've successfully fixed the oil leak from the oil filter!